Thursday, May 22, 2014

How To Publish Your EPaper or Ebook For Free Using Google Drive

Hello my dear readers recently I have tried that how to publish any epaper or emagazine in your website or blog for free. I have looked certain ways but that was neither good nor freely available.

Then I tried Google Drive and  found that how easily we can publish any epaper or emagazine to website or blog. After reading the whole post below you'll find that how easily you'll be able to publish your epaper or emagazine.

This post is very helpful those who has print magazine or paper and want to publish online in their website or blog.

In this post I am going to share that how you can publish any epaper or emagazine to your website or blog.

Please follow the steps below:

Step 1: Login to Google Drive

In this first step login to Google Drive with your Google mail id and then click to Create button on the left. After clicking Create button a small popup box will appear and then click to Simplebooklet apps icon. If don't find the Simplebooklet there in the box then click on Connect more apps link bottom of the box and search for Simplebooklet and click on that. See image below:

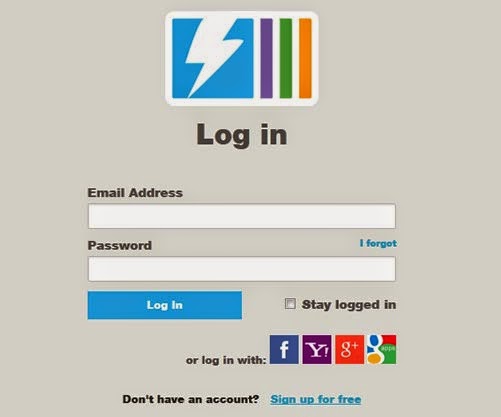
Step 2: Login to Simplebooklet

After clicking to Simplebooklet in step 1 you'll navigate to Simplebooklet login page, but before that it will prompt you for permission to access your Google drive account for first time. After you grant access you'll navigate to login page where you'll have to enter email id and password because you are using Simplebooklet first time so you need to signup first then you are able to enter email and password. See image below:

Step 3: Create epaper or emagazine

After login to Simplebooklet you'll navigate to Simplebooklet Dashboard page where you'll create new blank web booklet. See image below:

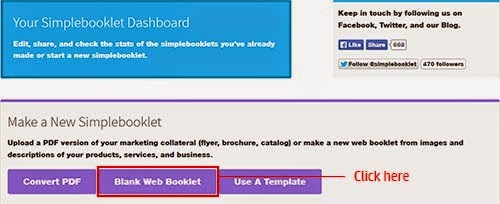
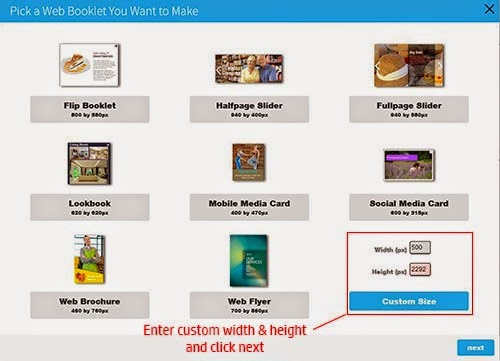
Step 4: Select a document

After clicking to Blank Web Booklet in step 3 you'll navigate to the page where you have to select the document type. In this page you'll see multiple options are available to select. You can select any option as per your need but here I have selected custom size and click next button. See image below:

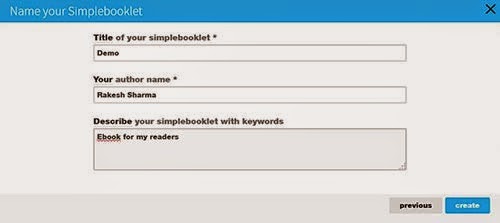
Step 5: Name your Simplebooklet

In this step you have to enter some information about your ebook or emagazine like Title / Author / Description. See image below:

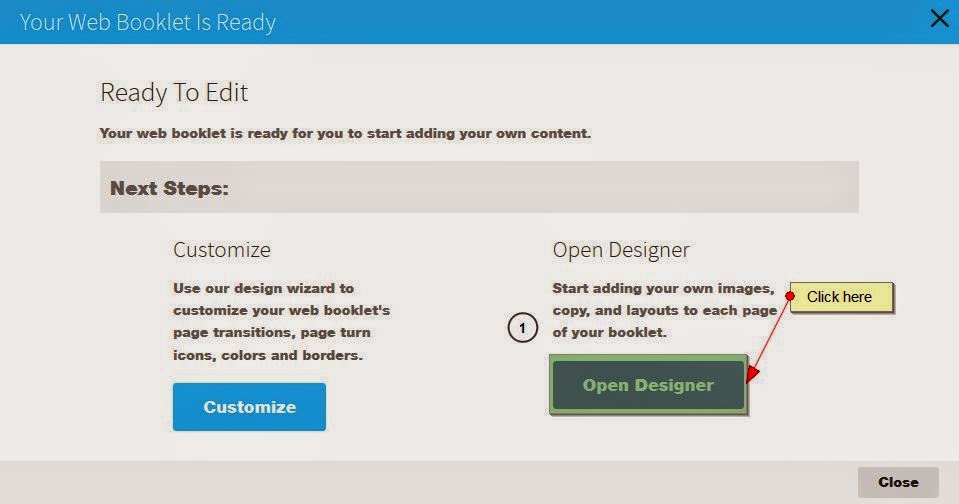
Step 6: Ready to Edit

In this step select the method you want to opt out. You can choose customize or Open Designer as per your requirement. Here I have selected Open Designer. See image below:

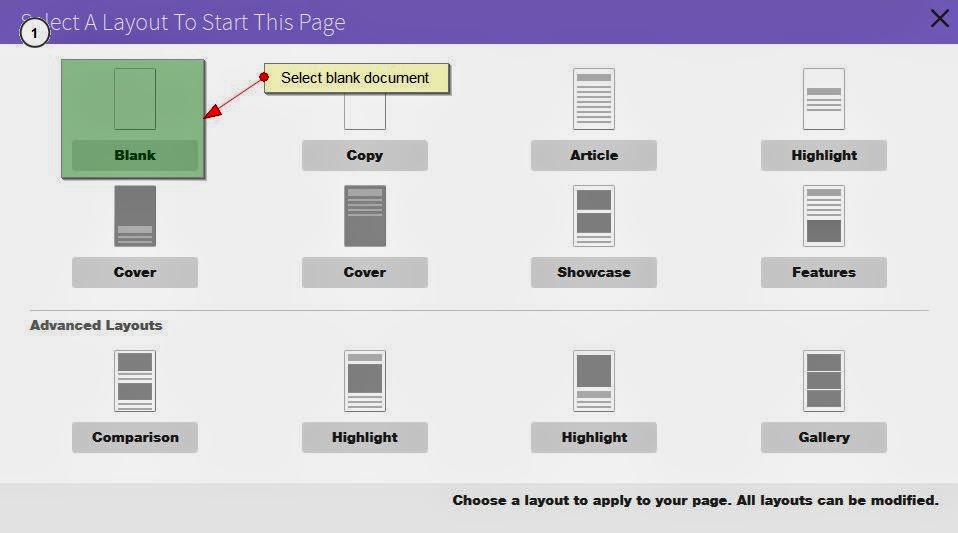
Step 7: Select Layout To Start This Page

In this step select the layout you want to use. Here I have selected Blank Layout. All layouts can be modified. See image below:

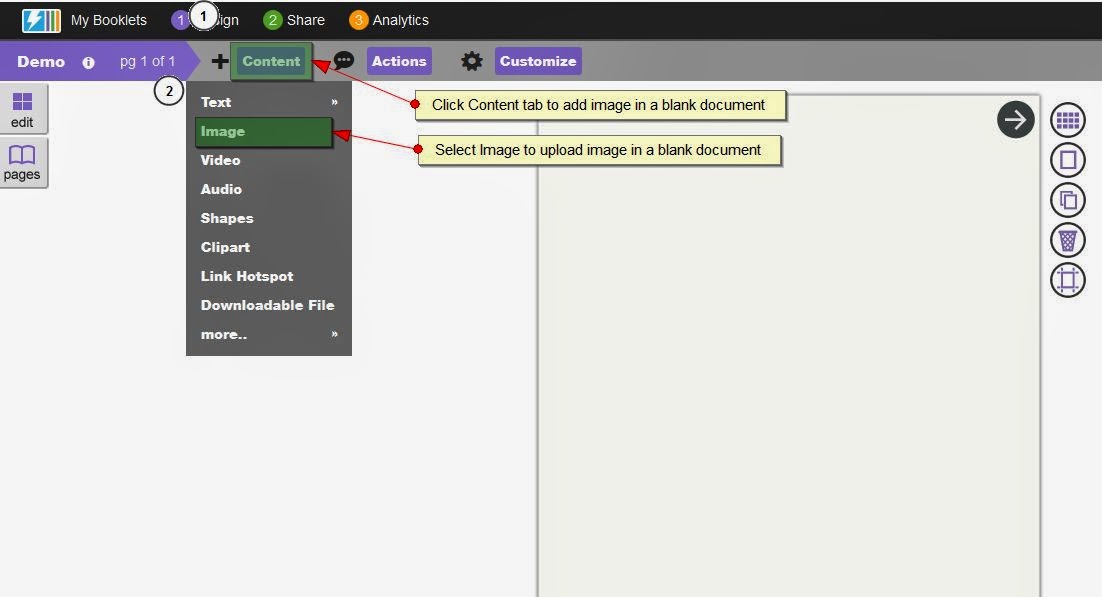
Step 8: Select The Content You Want To Add

In this step add the content to your blank document by clicking Content tab on top left and then click on image link to upload the image to your blank document. See example below:

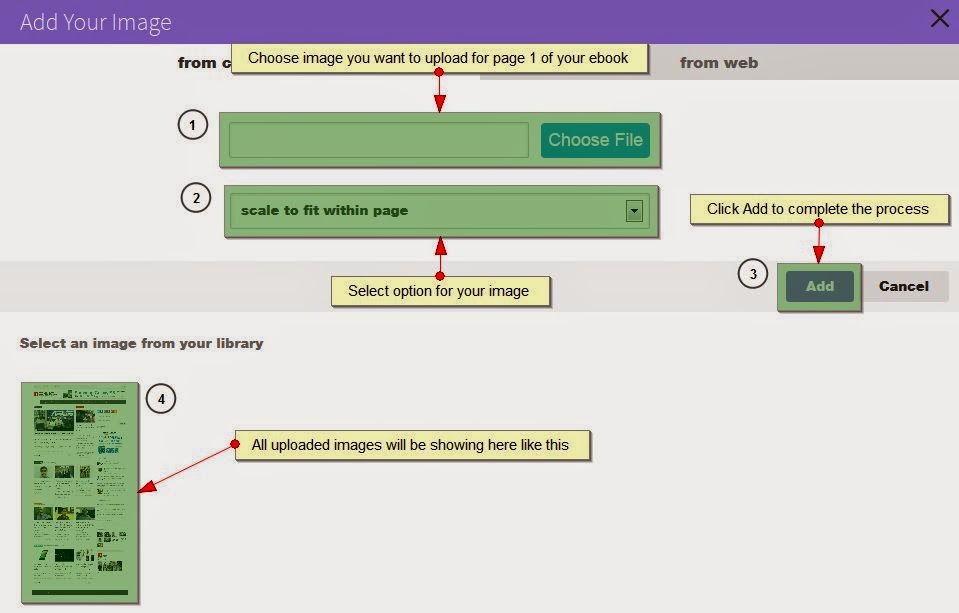
Step 10: Add Your Image

After clicking on the image link in step 9 you'll navigate to the next page where you have to upload your image and click to Add button to proceed to next step. Refer the example below:

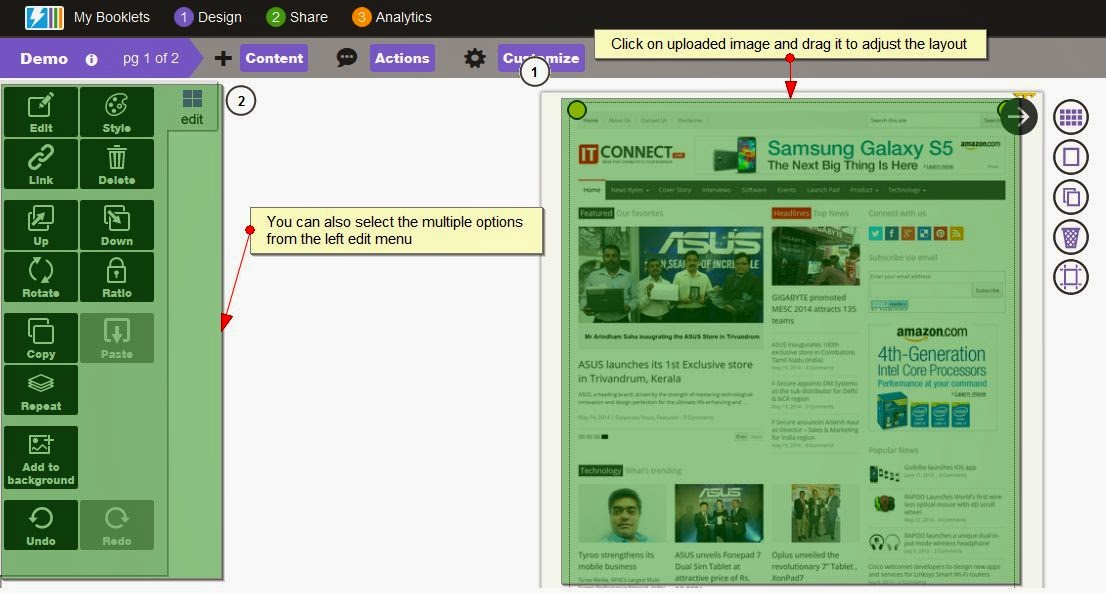
Step 11: Adjust Image In Layout

After your image is being uploaded click on the image and you'll get the image edit options on the left or you can drag the image and adjust it in your layout by dragging or edit it. See image below:

Step 12: Add New Page

In this step click on the top right arrow on the document or options on the right of the document to add another new page of your epaper or emagazine. See image below:

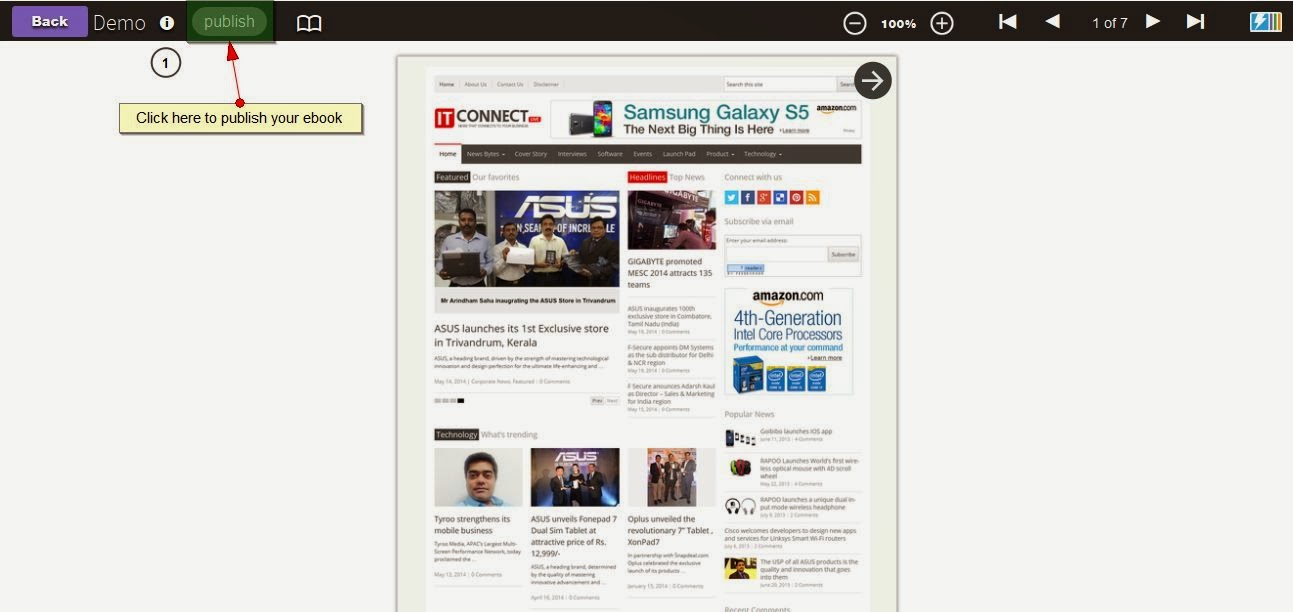
Step 13: Preview and Publish

After adding all pages to your document click on preview button on the top left once you are satisfied then click on publish button to publish your web booklet. see image below:

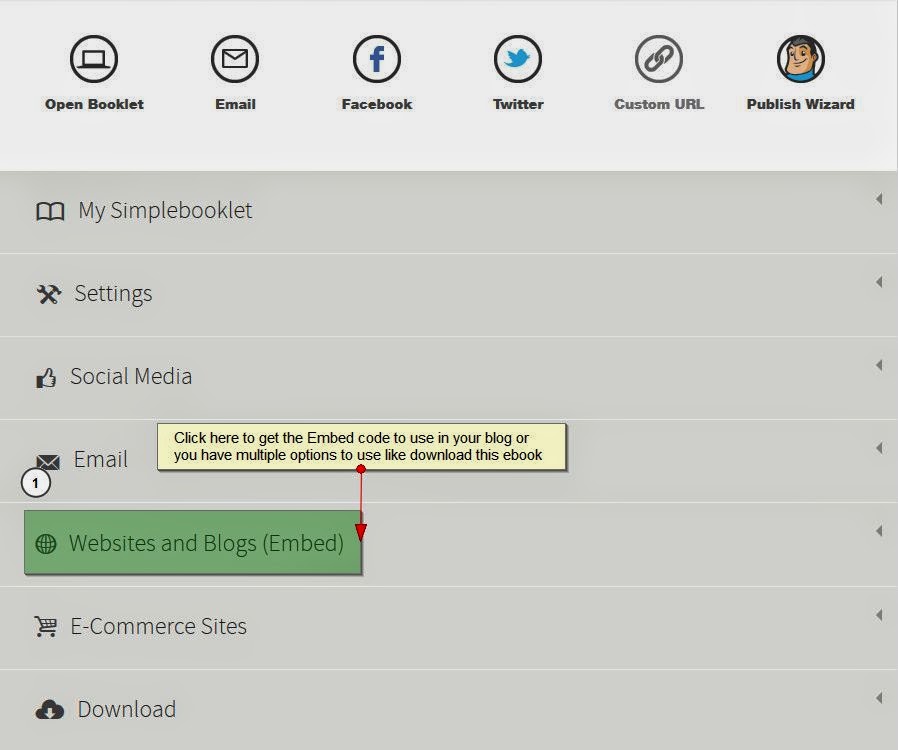
Step 13: Embed In Your Website Or Blog

After publishing click on the share button on top left and you'll get the multiple options to choose where you can select Website and Blog Embed option to get the embed code for your website or blog. see image below:

Now you are done. You can see my demo page below:

Demo Simplebooklet

This Simplebooklet app is free for first 14 days after that you can upgrade your free account to paid one and that is very cheaper as single user.

I hope above tutorial would be helpful for you. If you have any question please leave comment below and share this post in your social network.

Wednesday, July 24, 2013

Panda – You Must Do Things Google's Way

Since February 2011, the way in which webmasters and site owners build site traffic has had to focus to a far greater extent on high-quality, useful and innovative content rather than traditional SEO. This is thanks go Google's ironically named Panda algorithm, which was the first of a string of new search algorithms which transferred many of the top positions in the results pages away from sites which are persnickety with SEO parameters to those with dependable and useful content. Of course, SEO tweaks are still quite important alongside important site improvements, but dealing with this shift and with the regular tweaks which Google releases are a fundamental part of maintaining site traffic.

The Site Killer

When the first Panda Algorithm was released, it affected the search ranking of 11.8 percent of all US search queries, shaking the business structures of many companies who's models depend on their web traffic. For example, sites with lots of links and advertisements but very little real content – which used to rank well with the right work – would be regarded as 'shallow content' and would loose out. Further to this, sites with separate pages which were specifically designed to flag search results according to their names, rather than performing a real function on the site, would get punished. The qualitative change, about which Google was vocal, is that SEO was to count for less and originality for more. As a direct result of this, sites like Examiner.com took a large hit, while dependable authority sites like broadcasters and large institutions benefited.

Surprising Mistakes

No algorithm is perfect, of course, meaning that it is possible for Panda to mistake an honest and dependable site for one which is trying to exploit the system. As SiteProNews observed, a few mistakes can mean that great content is missed by Google because of other facts about a site which look suspect – meanwhile, competitors who have their SEO-houses in order will gain the traffic. SiteProNews observed how a certain website which provided original and quality content and an honest service was loosing out, due to a variety of Panda's particulars. For example, the site featured a number of pages which were intended for authorized distributors of their product – featuring little more than variations for state and country parameters. It appeared that Panda was mistaking these pages for Doorway Pages: sparse pages (stuffed with keywords) which dubious sites use to attract hits then redirect to other places on their domain.

The site also featured 89 testimonials, each with its own post – this sounds great for customer relations, but Google would see this many separate posts, with no headings, no images and not that much content, very 'thin' indeed. As a response, the site put up a 301 redirection on each of these posts and aggregated them into a widget, embedded into the sidebar of the homepage. This enabled them to get the benefit of each review, while not making it seem like they were posting thin content. After these adaptations the site recovered its popularity, in one case jumping 55 page ranks.

Action Plan

So, any site owner who wishes to get great results will have to set about uploading some unique and useful content. Obviously, if this is your vocation then it shouldn't be a problem; if not then there are plenty of businesses to which webmasters can outsource the creation of unique material. It is important to remember that Google is providing a service to it's users, they seek to provide a page of search results which features a range of information from page to page, meaning that if a user doesn't find what they are looking for after their first click, they can go back, click elsewhere, and are likely to find what they seek in the end, this isn't possible if the content on all of the pages is similar. As a result, sites which upload content which resembles existing content or which is generic in nature will probably rank low because it will not provide new information to users. Moreover, it is not enough to be subtly different from competitors; an artificial intelligence is making the decision, so the distinction must be impossible to miss.

SEO is clearly still a necessary part of a webmaster's strategy for creating a popular site, but the era in which site owners could manufacture hits through playing the search engines is gone. In many ways SEO is now about making it so that a site doesn't hurt itself by offending one of Google's algorithms – this, alongside a few keywords, should be enough to let great content do the work.

This is guest post written by Lisa Patterson

Thursday, March 28, 2013

5 Nice Tutorials: How To Store Form Data Locally Using HTML5 and jQuery

HTML5 is quite handy when we talk about Local Storage of our form data. If you are using same form at different location of your website and telling users to enter the same information then you may ease your users by using HTML5 Local Storage property which allows you to store form data locally at first submission and shows the same form data with prefigured values when user trying to submit same form again but from different location of the website.

In this post I am sharing 5 very good tutorial to teach you how to use HTML5 Local Storage property to store your form data locally. These tutorials are very well described and easy to understand. If you have just started using HTML5 form then these tutorials are would be very informative to you.

Here's the following list of tutorials:

1. Store Form Data with HTML5 localStorage and jQuery

This is a very simplistic jQuery function utilizing localStorage that I devised to help meet a specific need for a local client here in Utah county. I have re-written it here to be more flexible.

2. Wrapping Things Nicely with HTML5 Local Storage

A very well described tutorial by Christian Heilmann posted on 24ways.org. In this helpful tutorial he has shared step by step guide to understand local storage using HTML5.

3. HTML5 & jQuery: localStorage forms

Working on a very cool new HTML5 application, I’ve had some useful experience with using localStorage. For those new to localStorage, it’s simply a way to store key and value pairs locally, meaning that like with cookies,  even after the user has left the page, data can be retrieved. It works differently from cookies in that the data is not stored on the server, rather its stored within the client web browser. It’s especially useful for forms and enhancing the user’s personal experience.

4. Using HTML5 localStorage on a form

HTML5 localStorage provides us with the ability to store named key/value pairs locally within a users browser, this means that the data stored in localStorage is still there even after a user has closed the browser, deleted their cookies or turned off their machine/device.

5. Storing Data the Simple HTML5 Way (and a few tricks you might not have known) 

This post is about the Web Storage API. Technically it’s been shifted out of the HTML5 specification and can now be found in it’s very own dedicated spec. But if it counts at all – it used to be part of the Web Applications spec.

Do you have any opinion please leave a comment or share this post in your social network. 


Copyright © 2009 - tutorialfeed.org